Showing posts with label all occasion gifting. Show all posts

Tuesday, 9 January 2018

My Dreamland

Hello Friends!!!
Happy New Year to all of You!!!
This mixed media 3D project, I have created for the Papericious December month Challenge- “Anything Goes with a Twist”


So the twist for this challenge was – use at least two patterned paper+ 1Lace /Ribbon.


It was such a joy to create such a lovely project. This month challenge really inspired me a lot. I have used lots of Papericious supplies to make this project.


Here are some close-ups:


Used Supplies:
Papericious Sigma Cardstock- Ivory
Papericious -Dusty Swirls (12by 12 paper)
Papericious Premium Collection- The Wedding (12 by 12 patterned paper)
Papericious Heavy Gesso-White
Papericious Chalk Paint- Duck Egg
Papericious Spritz-Deep teal
Papericious Spritz-Golden Yellow
Papericious Die Cut Elements- Infinity
Tim Holtz Idea-ology- Clipping Stickers
Papericious Lace and Trim
Papericious Handmade Fabric Flowers
and some craft supplies from my stash.

Hope you like this, please leave some love....

Entering my project to 

Saturday, 28 October 2017

"Seas The Day"


Hey my Dear and Lovely Friends,

I hope you all are doing well.

Today, I am back to share my very first mix media project. Some previous days, I’ve gone addicted with mix media art. So this a outcome of my new addiction. I was inspired by Mixed Media Place (Nadya, Ola and Julia's work) and Mixed Media Warriors. These blogs are great place for any mix media beginner. On YouTube, I found some of my sweet inspirational mix media artists are Maremi SmallArt, Anna DabrowskaNadya Drozdova and Gabrielle Pollacco. I really enjoy each and every project showcased by them. These artists are so awesome and generous. 


I’ve altered a mini notebook for my brother. I made this project by using Prima Marketing Art Basics products and some acrylic colors from my art collections. These Finnabair Art Basics products are just awesome and really enjoyed playing with them on my project.  Here I have a very short write up for you all.


I have used a piece of cardboard to give some texture to background. I wanted it to be simple and easy to create.  So First I covered it with white acrylic paint and then added some handmade objects (snail hood, sea shells and pearls) with the help craft glue. 


I've used stencil along with modeling paste to create some pattern on the left corner. Then, I used some modeling paste on 3D objects for some extra texture. I applied acrylic colors (cream and white). Then pearl ink sprays (American green, Pacific blue and Wood Brown)were used on background as well as on objects to give them proper sandy and beach type look.
After drying, I added stamped sentiment to this project. This altered notebook is a surprise gift for my brother, I am really keen to see the expression on his face and these moments will be in my heart forever.   
Some more images:


Used Supplies:

I hope you will like my project.
Please visit and subscribe my YouTube channel, for easy and quick mix media art tutorials-
Click here: Uroo Creations
This is my Facebook page, please do like if you love to see my work-
Click here: UrooCreations
Please visit me on my Instagram account-
Click here: UrooCreations

Please leave some love….
Love and Hugs,
Monika
UrooCreations

Tuesday, 24 October 2017

Bloomed Wishes

Hello Friends,
Today, I am posting a card, which is really very simple and cute. I made this card very quick.
 For this, I have used Papericious Sigma Cardstock which is very good while working with stamps. I have used the technique for making the background described by Jennifer McGuire. She is very much inspiring and creative. 


So, for this card, I inked the embossing folder (Itsy Bitsy) with Versa Color Pigment Ink (13-Orange) for first and then embossed it. The out product was really stunning. For this, many thanks to Jennifer for teaching us these superb techniques through her channel.


I stamped ‘Best wishes’ sentiment on Papericious card stock with the same ink Versa Color Pigment Ink (13-Orange) and then I fussy cut it. I added a strip of cardboard on the back of sentiment.  After that I have collected some pieces of trim and doily, along with some decorative ready made flowers.

I added doily on to the card, then adjusted trim to give a extra touch to the card, after that added flowers and sentiment to finish the card. This is my very quick and easy card for today.

So, here some more picture of this card. 


\

Do let me know what you think.I had a lot of fun making it and I hope you like it!!!!
Thank you for visiting!
Hugs,
Monika

UrooCreations
Used Supplies:
2.Versa Color Pigment Ink Pad: 13-Orange
3. Some ready made embellishments (trims, flowers and doily)

You can shop wide range of craft supplies on following stores:

www.papericious.com
www.itsybitsy.in
www.craftslane.com


I would like to participate to the following challenge:

Tuesday, 3 October 2017

Will You Be Mine Forever

Hello Friends,
In this blog post I will be showing the project which is very close to my heart. I am totally in love with the colors and embellishments. Do let me know what you think.
Past few months, I have been busy in shifting to my new home and I truly apologize for being late in posting. Diwali festival is on the way, I have to make so many handmade décor items to decorate my home. I am trying to be active. Soon, I will be posting some very easy to made handmade home décor items on my blog. Right now I am working on them.
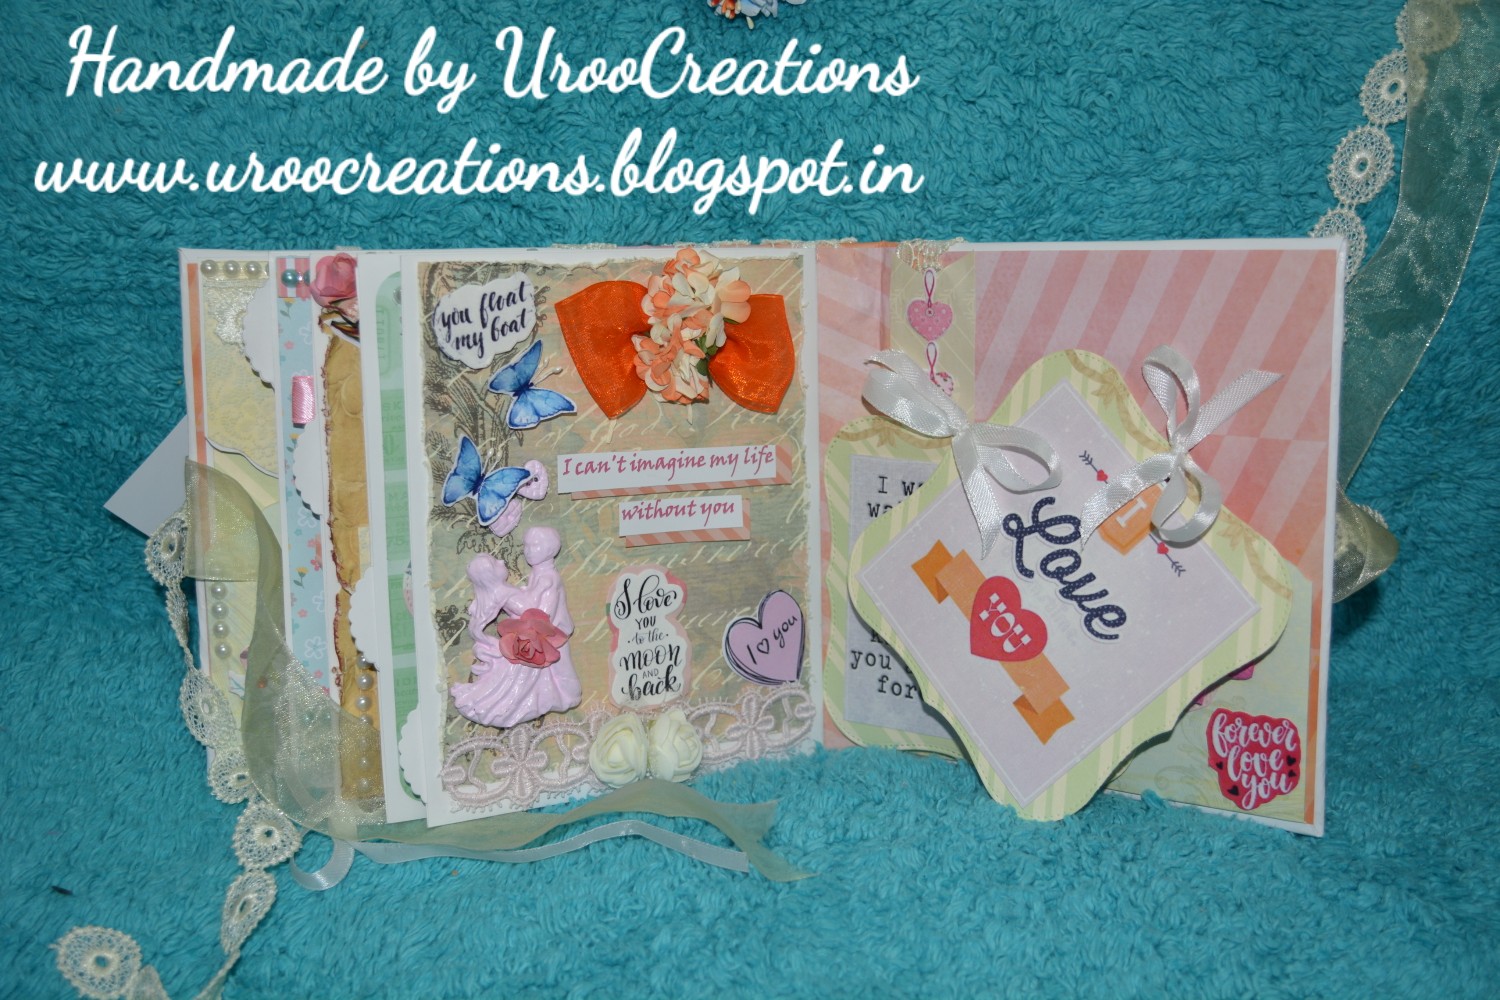
So today I am up with a cute and lovable album. This was again made on order for a friend, filled with love and many of pictures. This album can hold approximately 40-50 pictures or more than that with a lot of space for tags and notes.


On the cover of the album, I have used beautiful pattern paper from Papericious- The wedding collection.  I am just in love with these pattern papers from this collection. For inside of the album, I have used mixed pattern papers from two or three various brands.


I also used the beautiful handmade polymer clay embellishment on the spine to give a vintage touch to my project. Readymade cherry blossom flowers were used on the cover as well as some chippies. Some tiny pinky roses and flat back pearls were used throughout in the album, bought from local whole sale market in Delhi.
On the cover page, sentiments were stamped with pigment ink. Some acrylic alpha beads were also added to the album. Trims and pearls used in the project can be easily available on craft supplies store anywhere in India.
Inside View:
Photo sections were covered with stickers for customer's privacy.


I am sure you all will love this album as much as I do. 
You can shop wide range of craft supplies on following stores:


Thank you so much for stopping by…
Hugs,
Monika
UrooCreations
PS- I do take custom orders for anything you love in my collection. Displayed cards and albums in my collection, are made on order handmade items.
So feel free to contact for more detail: +91-8130526536
Write us for any query at uroocreations@gmail.com
Find us on different social networks:
Please do leave some love in comment section...
I would love to enter this Handmade Album into the following Challenges:

Saturday, 23 September 2017

Celebration Gift Card Holder


Hello Everyone,

Today I am posting a gift card holder, can be used for any occasion or gifting purpose.

Papers I have used from my stash, I have used a border punch to give the extra look in gift card holder and made a pocket to keep gift card in it. On the other side there is a small envelop style pocket with a tag to write on something.  

Then, on the cover, I have used Sizzix Thinlits Dies by Tim Holtz- Celebration Script to put the sentiment “Celebrate”. An adhesive light green glitter sheet was used to die cut the sentiment.

I used a designer oval die cut to put as a background for sentiment, You can see above, it is giving an extra highlight to sentiment..
I made some handmade flowers and leaves to decorate the front of the gift card holder.

The papers used in this gift card holder were from Eno Greeting and ivory (shelf print) sheet was from local wholesale market.

Hope you all enjoyed this creation.


Sizzix-SIZ660223-Tholtz-Thinlits:Celebration Script

Thanks for stopping by.
Lots of Love to all……..


Hugs,
UrooCreations...

Steampunk Notepad for Lindy's Gang - Step by step Tutorial

  Hello sweeties, I have designed a steampunk notepad for Lindy’s Gang blog. I have used my favourite Lindy’s Gang Magical powders (Rizzo’...